Create a New Contact List
MailExpress uses Lists to manage your email contacts.
- To create a contact list, go to the List tab on the left-hand side menu.
- Click on the “Create New List” button in the upper-right corner. Please note that only the System Admin can create lists.

- Enter your list name and click on “Continue”. Please note that the list name will be displayed to your subscribers when they subscribe or unsubscribe.

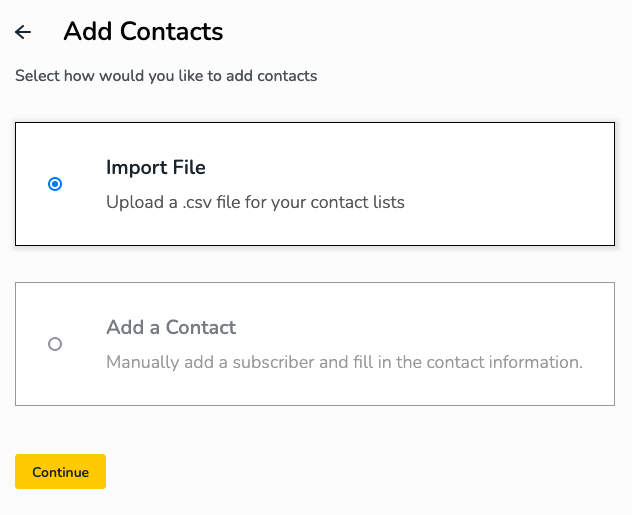
Add or Import Contacts to your New or Existing List
You can either upload a .csv file for your contact lists or manually add and fill in the contact information.
Adding Contacts by Importing a .csv File
- If you are adding contacts via a .csv upload, drag and drop your contacts file in the drag and drop area or click on “Browse” to select the file from your computer.
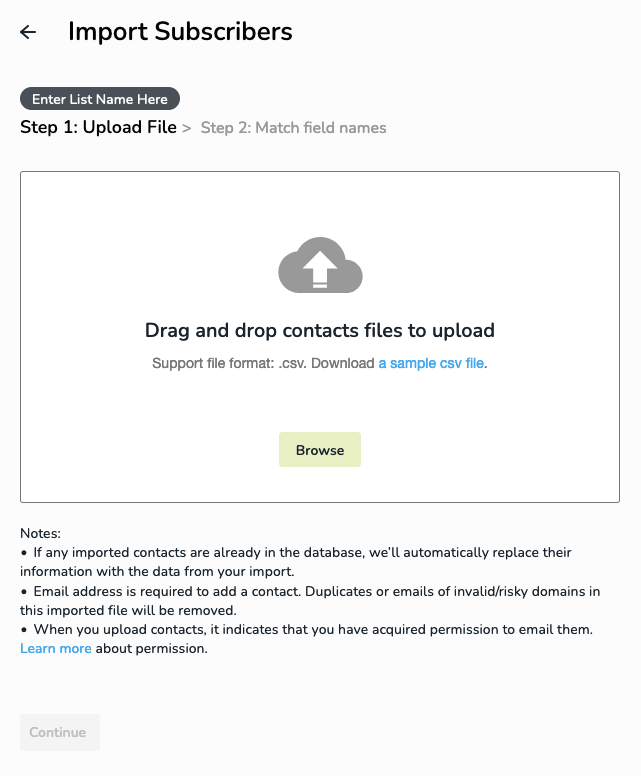
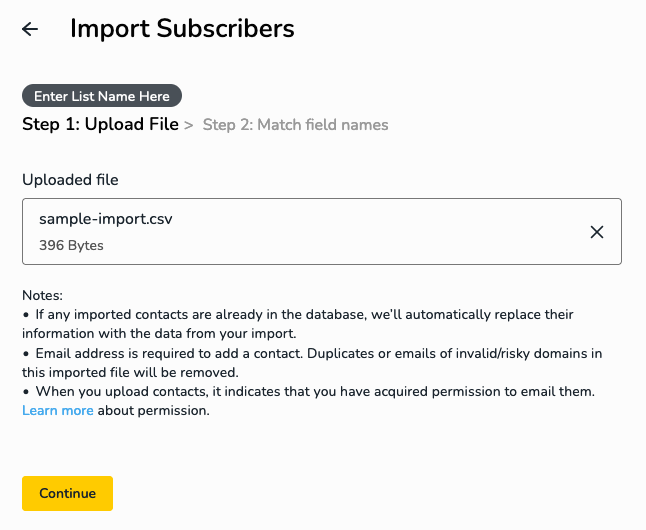
- Click on “Continue” once the file is uploaded.
- Once the list is uploaded into the system, MailExpress will automatically match the column names in your .csv file with the fields preset in MailExpress. Remember that you will also be required to fill in the “Source” field, so it can be used to enhance your segmentation and reporting insights. Finally, click on “Import.”
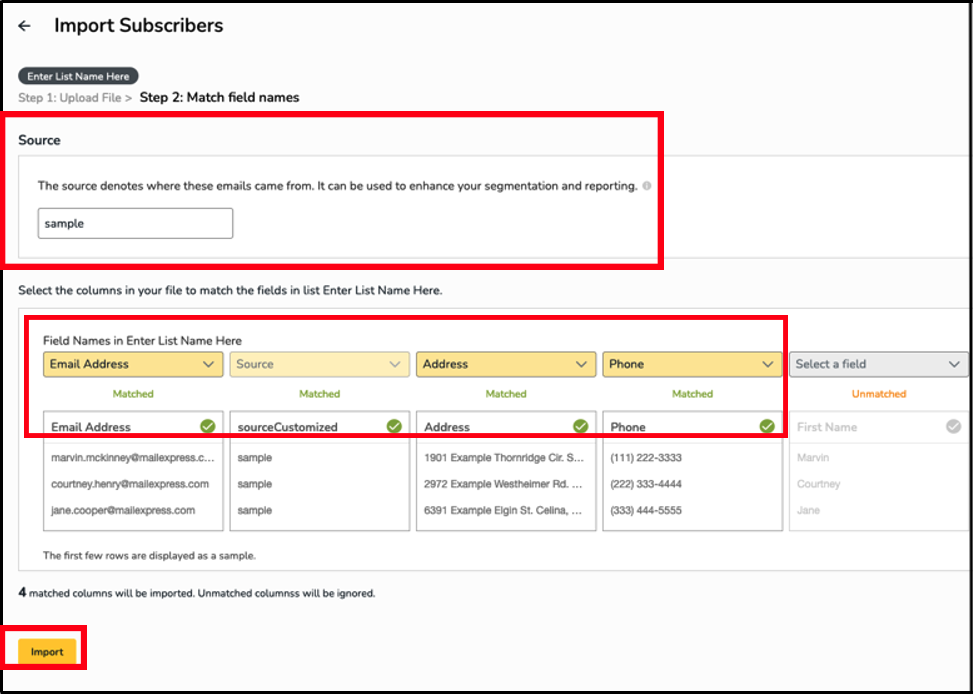
- You will receive a message box confirming the list is successfully imported.
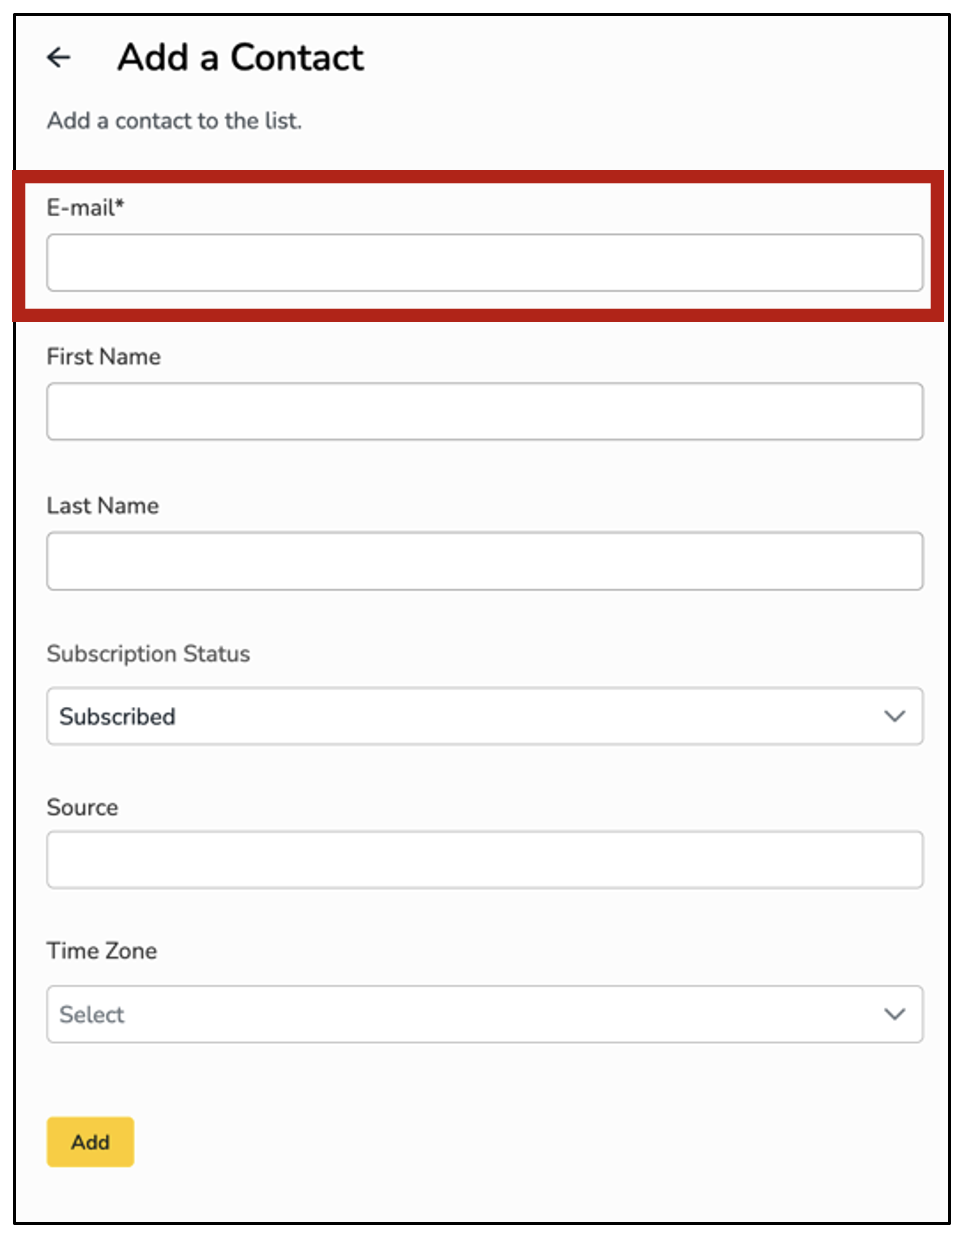
Adding Contacts by Manually Adding Contact Information
- If you manually add contacts to your list, fill in your contact’s email address (optional fields are First Name, Last Name, Subscription Status, Source, and Time Zone). Then click “Add”.
After adding your contacts, you can review them in the Contact List.
Submit a free migration service form here, and we will help you with the migration process.